
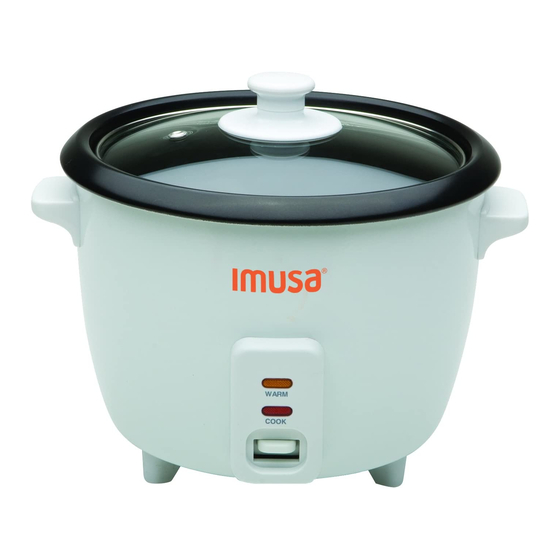
A Comprehensive Guide IMUSA Rice Cooker Instructions for Perfectly
The Imusa Rice Cooker is a straightforward and effective kitchen tool, perfect for anyone who values easy and convenient cooking. It comes in three sizes: 3-cup, 5-cup, and 8-cup, priced at $19.59, $21.24, and $19.99 on Amazon.This makes it a very affordable choice, especially when you compare it to more expensive models like the Zojirushi 3 Cup Rice Cooker.
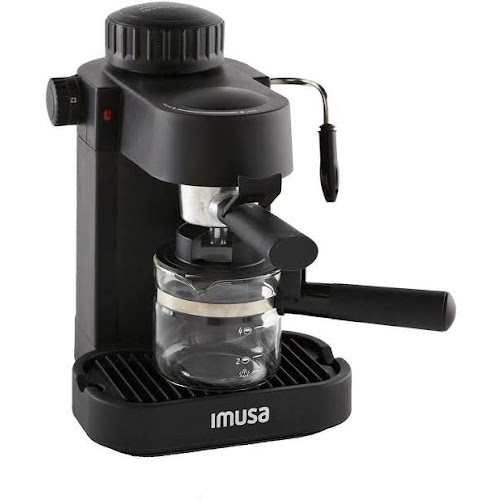
Imusa Espresso Cappuccino Maker Instructions
Here are some tips on how to use your IMUSA rice cooker. To start, add the desired amount of rice to the rice cooker's inner pot. Next, add water to the pot. The water-to-rice ratio is typically 1:1, but you may need to adjust this depending on the rice you are using. Once you have added the water, stir it around to ensure all the rice is.

imusa GAU18234 Electric Espresso Maker Instructions
Cleaning is easy with the removable PTFE Nonstick coated pot which prevents your rice and other foods from sticking. Make your favorite rice dishes, vegetables, oatmeal, and more with your IMUSA rice and multipurpose cooker. • 3cup Rice Cooker - Black N/S (300W) • Cooking & Keep Warm Indicator Lights. • Automatic Warming Function.
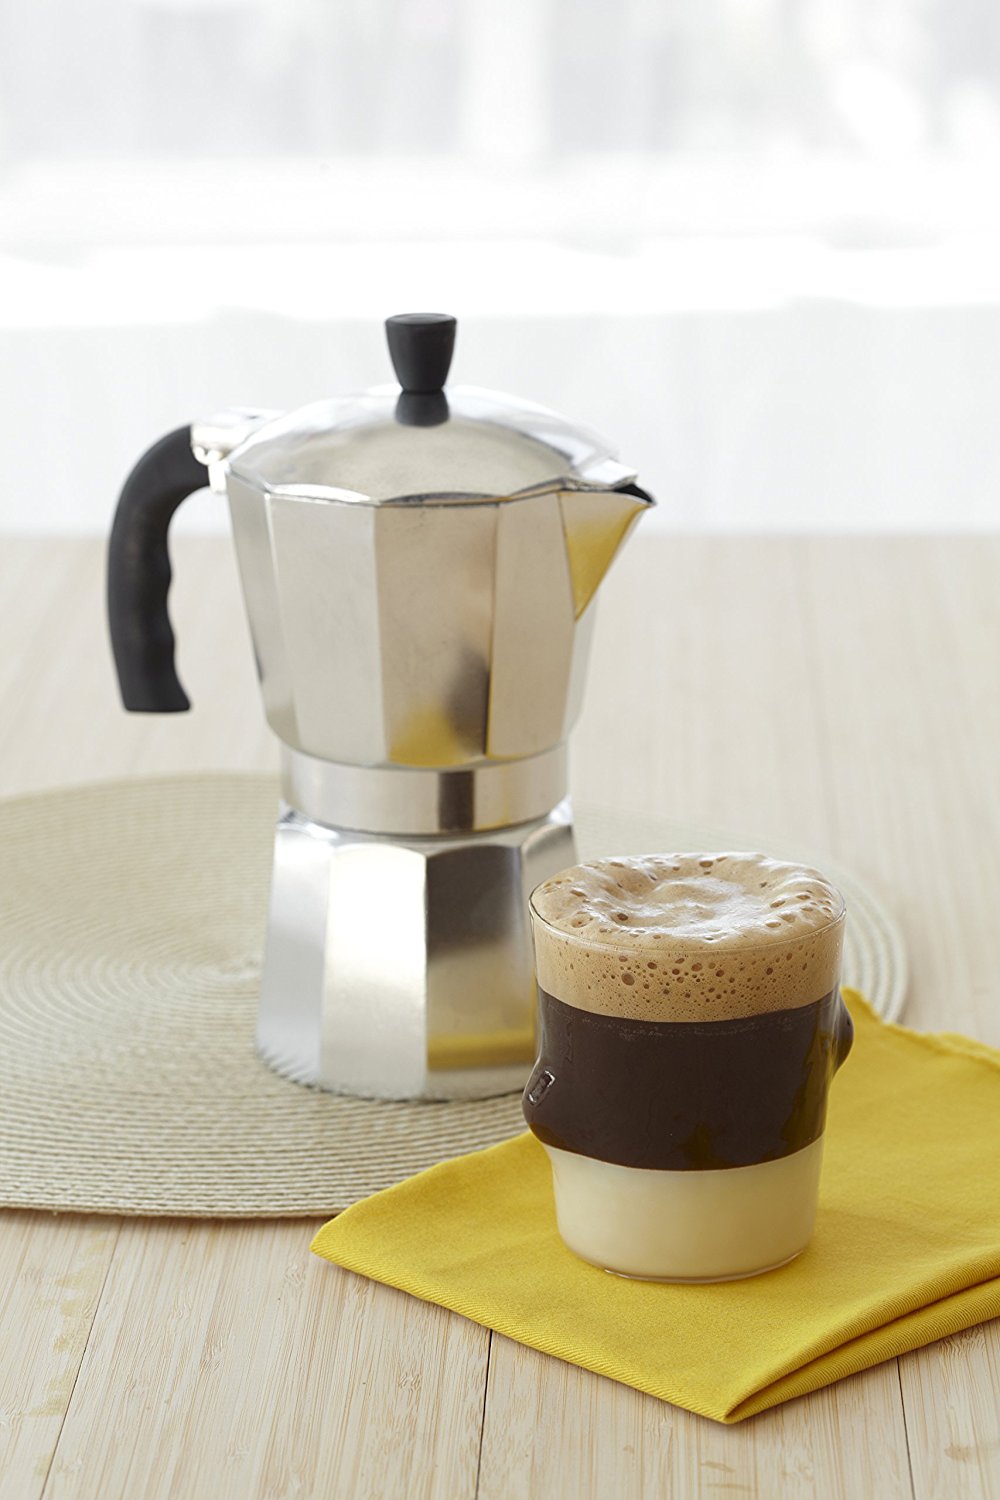
Imusa Espresso Cappuccino Maker Instructions
Add the rinsed rice to the Imusa rice cooker and the appropriate amount of water. The general rule of thumb is to use 2 cups of water for every 1 cup of rice. For example, if you're cooking 2 cups of rice, you'll add 4 cups of water to the cooker. Place the lid on the cooker and turn it on. The cooker will automatically switch off when the.

Olla arrocera Imusa 10 tazas islaPack
Unboxing New Imusa Rice Cooker & Quick DemonstrationPlease Comment/Like/Share/Subscribe To Support This Channel. It is FREE to do so. Thank you very much!Stu.

The Perfect Rice Cooker is Small But Mighty, With Just One Button
Follow steps 1-3 from above to measure, rinse, and add your rice and water to the pot of your Imusa cooker. Place the steaming basket on top of the pot and add your vegetables or other foods to it. Make sure they are cut into small pieces so they can cook evenly. Close the lid of your Imusa rice cooker and press the cook button.
IMUSA ARROCERA INSTRUCTION MANUAL & RECIPES Pdf Download ManualsLib
5. Taste and hardness of rice will vary depending on the type or brand of rice you choose to cook. For softer, fluffier rice add additional water (half inch more). For firmer crunchier rice add a little less water (half inch less). You may need to experiment to suit your taste. 6. Brown rice takes longer to cook than white rice and requires.
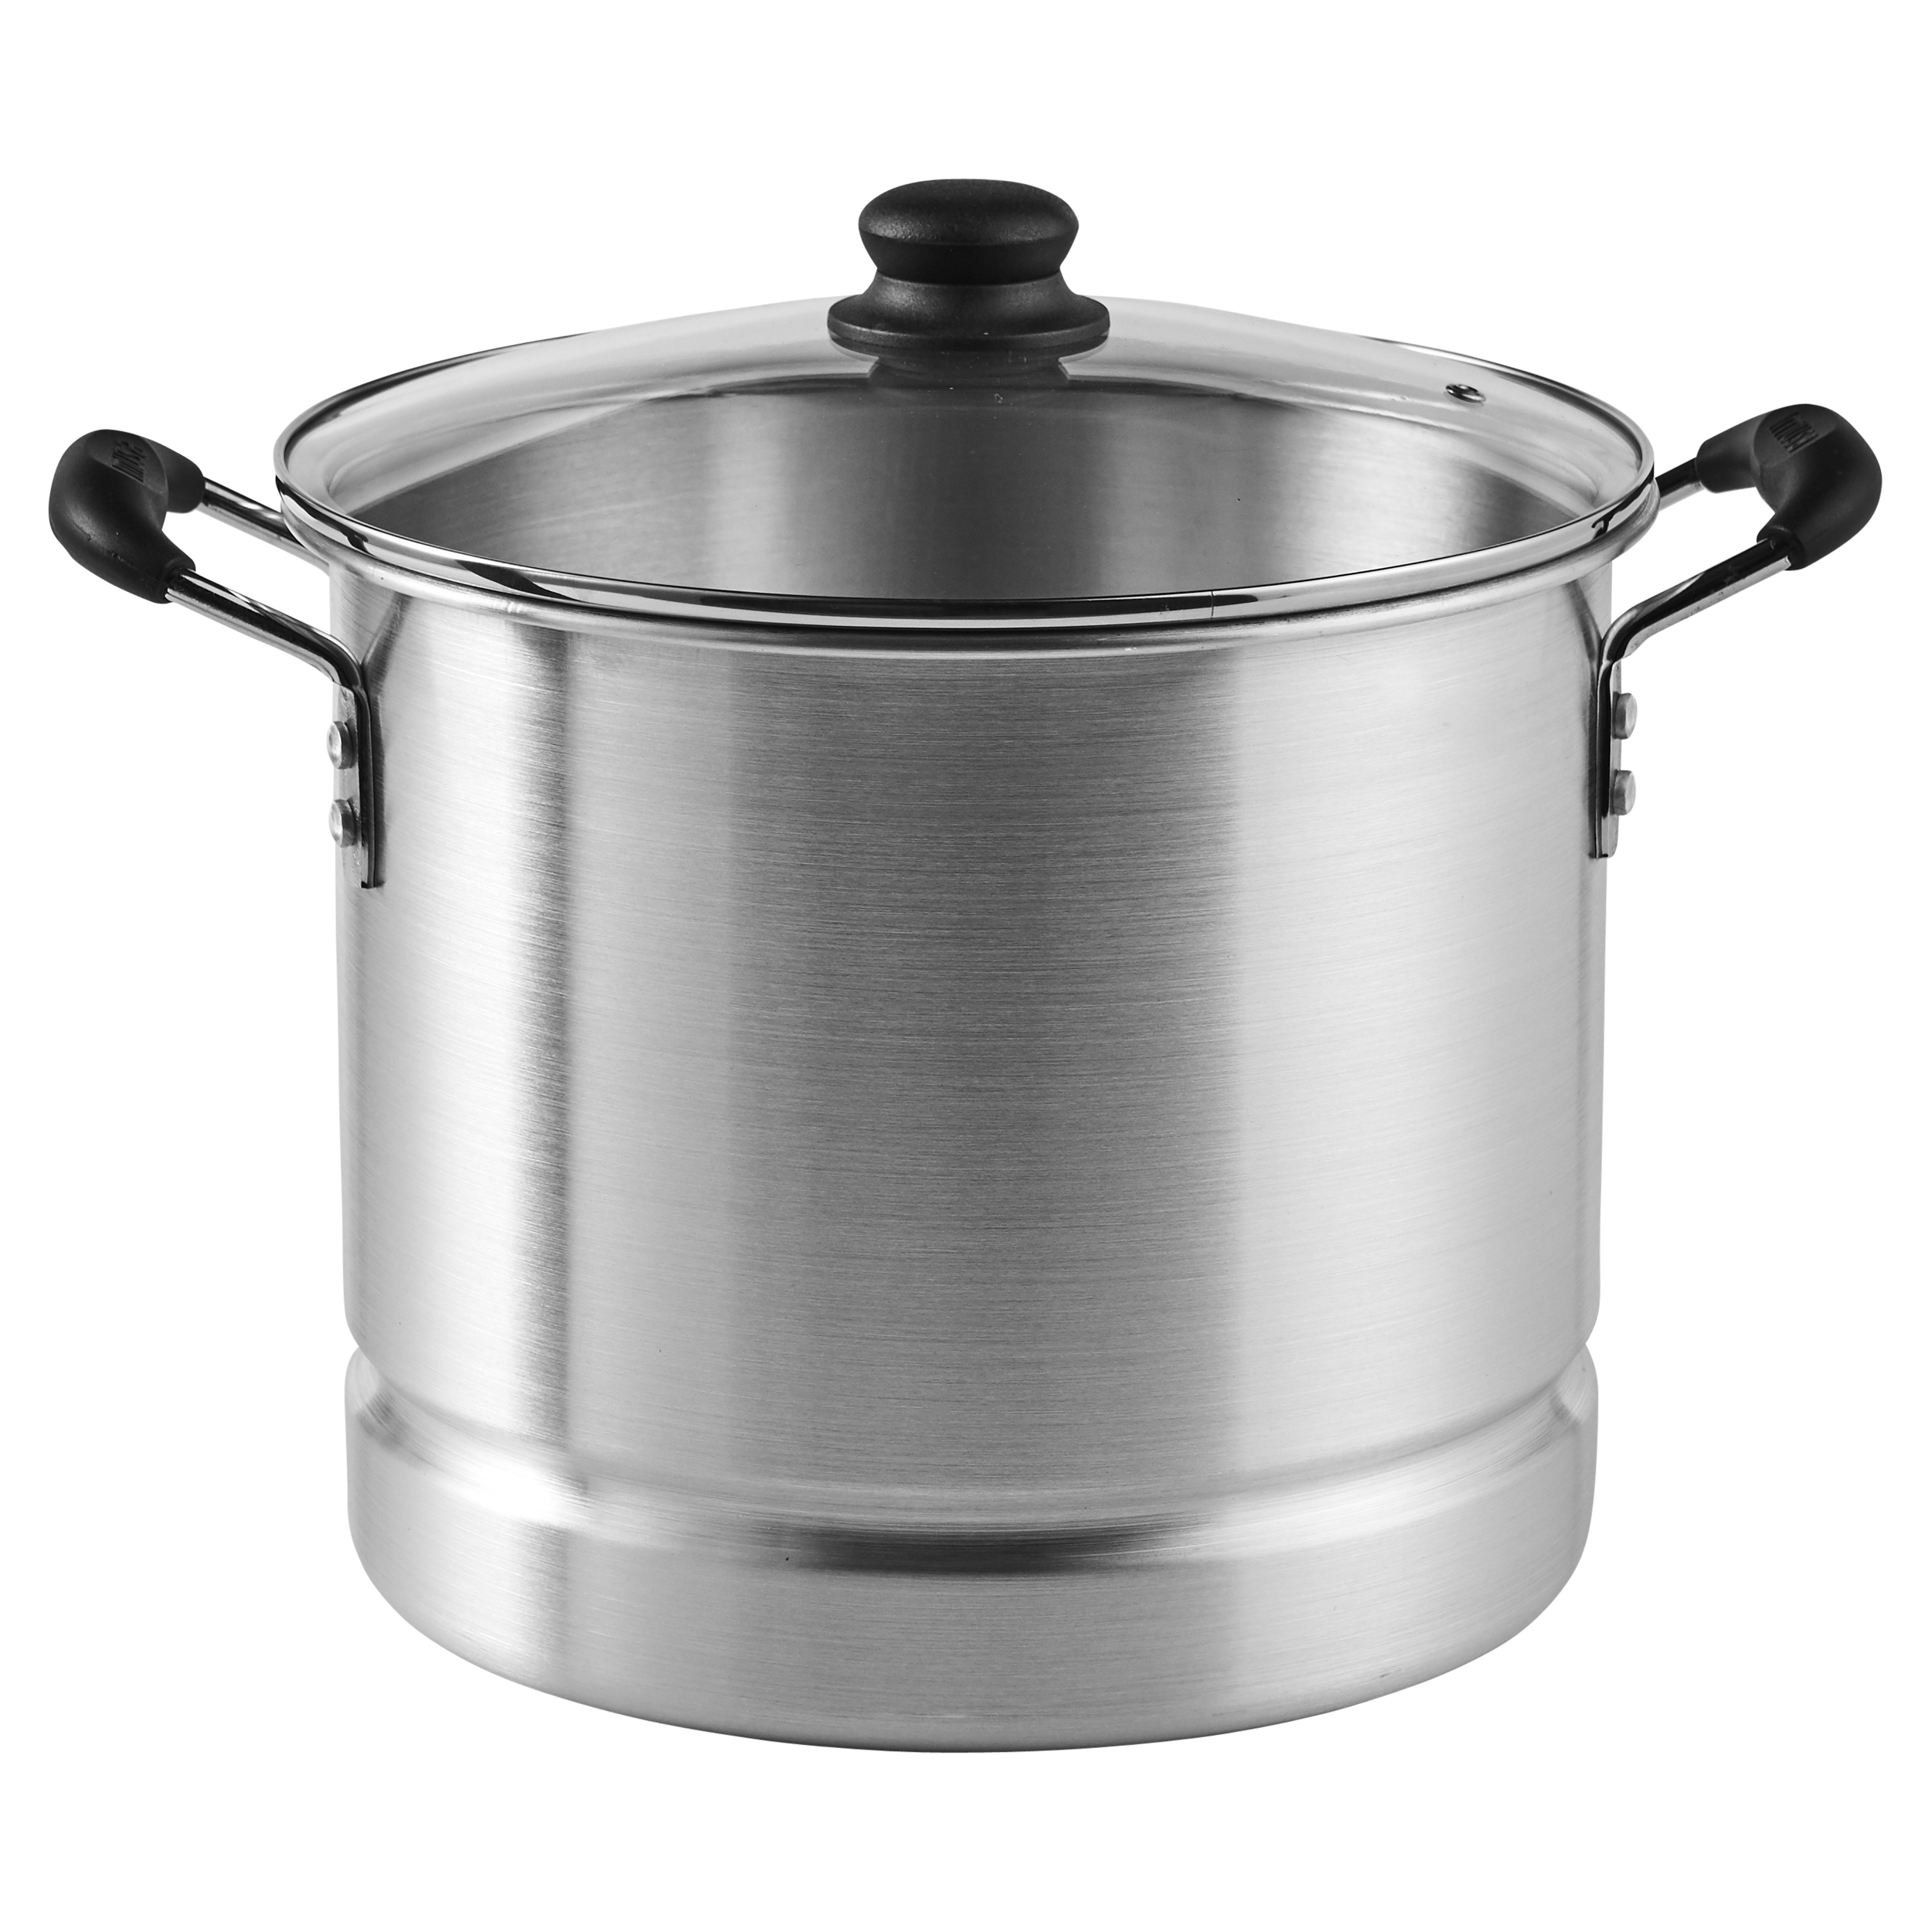
IMUSA IMUSA Steamer with Glass Lid and Cool Touch Handle 20 Quart IMUSA
when using the imusa rice cooker, safety precautions should always be observed, including the following: make sure to read and understand these instructions before using your imusa rice cooker for the first time. read all instructions. 1. Make sure the voltage in your outlet is the same as the voltage indicated on your IMUSA Appliance's.

Best Imusa Rice Cooker Review Life Sunny
Setting and Cooking. Once the rice and water are added to the pot and the lid is securely in place, plug in the Imusa rice cooker and press the power button to start the cooking process. The cooker will automatically adjust to the appropriate cooking temperature and time based on the amount of rice and water added.

How to Use IMUSA Rice Cooker? Ultimate Guide for Beginner
Page 5: Tips And Tricks. ½ to 1 cup of water into the pot and push the switch to "cook". 7. You may also choose to make vegetables, soups, oatmeal, beans, legumes and more on the IMUSA Rice Cooker Troubleshooting • Problem: Rice has some hard grains/ does not seem fully cooked Possible explanation: Rice has not been fully cooked.

Imusa Rice Cooker Instructions Rice Cooker Instructions
Selecting the Setting : Choose the appropriate setting on the rice cooker based on the type of rice you're cooking (e.g., white rice, brown rice). Starting the Cooker : Press the start button to initiate the cooking process. The cooker will automatically switch to the warming function once the rice is cooked.

IMUSA PODS on Behance
Answer: Brown rice requires more water and a longer cooking time than white rice.To cook brown rice in an IMUSA rice cooker: Measure the brown rice with the cup provided and rinse it under cold water. For each cup of brown rice, use about 1.5 to 2 cups of water (this may vary slightly depending on the specific model and desired texture).

IMUSA IMUSA Chocolatera 2 Liter IMUSA
Pay attention to the recommended rice-to-water ratios specified in your IMUSA rice cooker's user manual, as they can vary depending on the type of rice you're cooking. Rinse the Rice (Optional): While rinsing rice is optional, it can help remove excess starch and result in fluffier cooked rice. Rinse the rice under cold water in a fine-mesh.

IMUSA IMUSA Stainless Steel Knife Set 2 piece IMUSA
Step 2: Place the rinsed rice and water in the inner pot of the rice cooker. Attach the pot securely to the cooker base. Step 3: Close the lid tightly and plug in the rice cooker. The indicator light will turn on, indicating that the cooking process has started. Pro tip: Do not open the lid during the cooking process, as it will affect the cooking time and result in unevenly cooked rice.

Former Obama advisor, Susan Rice, appointed to Netflix's board of
recomendacioneS GeneraleS: • Nunca sumerja el aparato o cable en agua. • Nunca use cerca del agua. • Nunca use una esponja abrasiva ni el paño en el exterior del aparato. • Nunca descuide la unidad mientras está en uso. • Nunca coloque otra cosa que lo que pretende que se cocinan en el aparato. • Desenchufe el aparato del tomacorriente cuando no esté en uso o lo este limpiando.
IMUSA IMUSA Strainer Set 2 piece IMUSA
3. Make sure that no loose rice or particles fall loose between the bowl and the rice cooker. 4. The bowl must fit snugly onto the heating plate to ensure proper contact for cooking. Place desired amount of rice into the bowl. Add cold water up to the exact level indicated on the side of the cooking bowl.
