
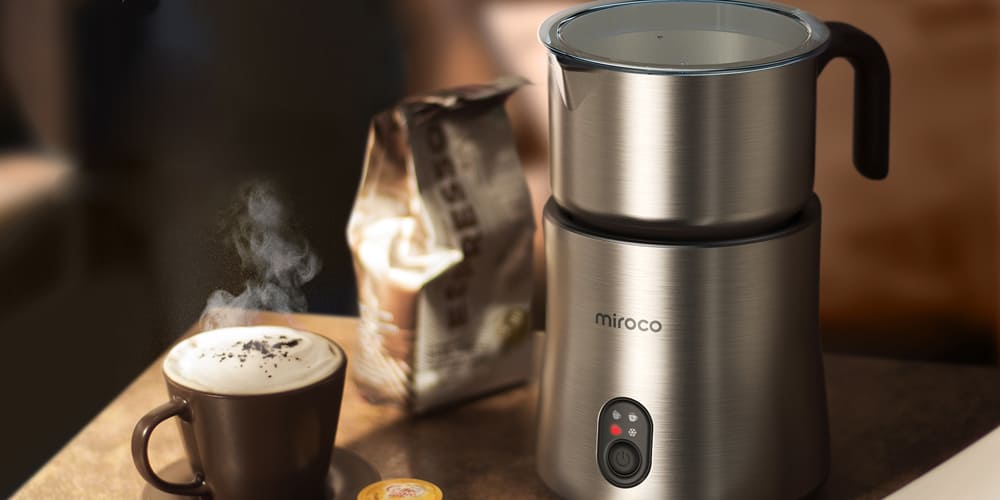
Miroco MIMF005 Stainless Steel 16.9oz Automatic Milk Frother Silver
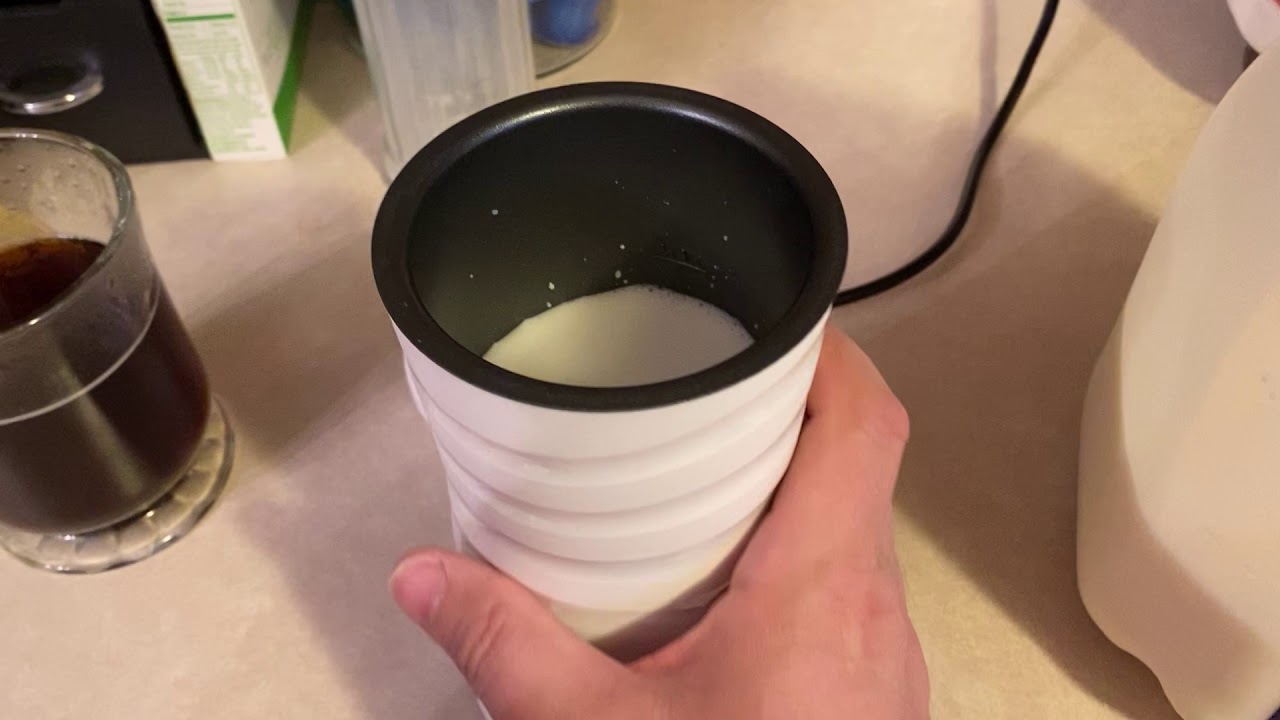
Step 1: Set the power base with the milk jug on a flat, level surface and plug the power cord into a power outlet. If the milk jug isn't placed firmly on the power base, the frother won't work, and the red light will blink for 5 minutes after you press the Power Button. Step 2: Pour the right amount of milk into the pitcher and put the lid back on.

Should I Buy The Nespresso Aeroccino Milk Frother? Best Milk Frothers
User Manual IMPORTANT SAFETY INSTRUCTIONS Before the use of this product, basic precaution and instructions should always be followed: Read the instructions thoroughly and keep it for future reference. This appliance must be earthed. Keep the product away from water and other liquids to avoid short circuit.
Miroco Detachable Milk Frother In House Review!
Step 1: Powering On the Miroco Milk Frother Step 2: Adding Milk to the Frother Jug Step 3: Selecting the Desired Frothing Option Step 4: Adjusting the Settings for Your Preferred Foam Density Step 5: Initiating the Frothing Process Monitoring and Controlling the Frothing Process Troubleshooting Common Issues with the Miroco Milk Frother
Miroco electric milk frother/steamer Product Review YouTube
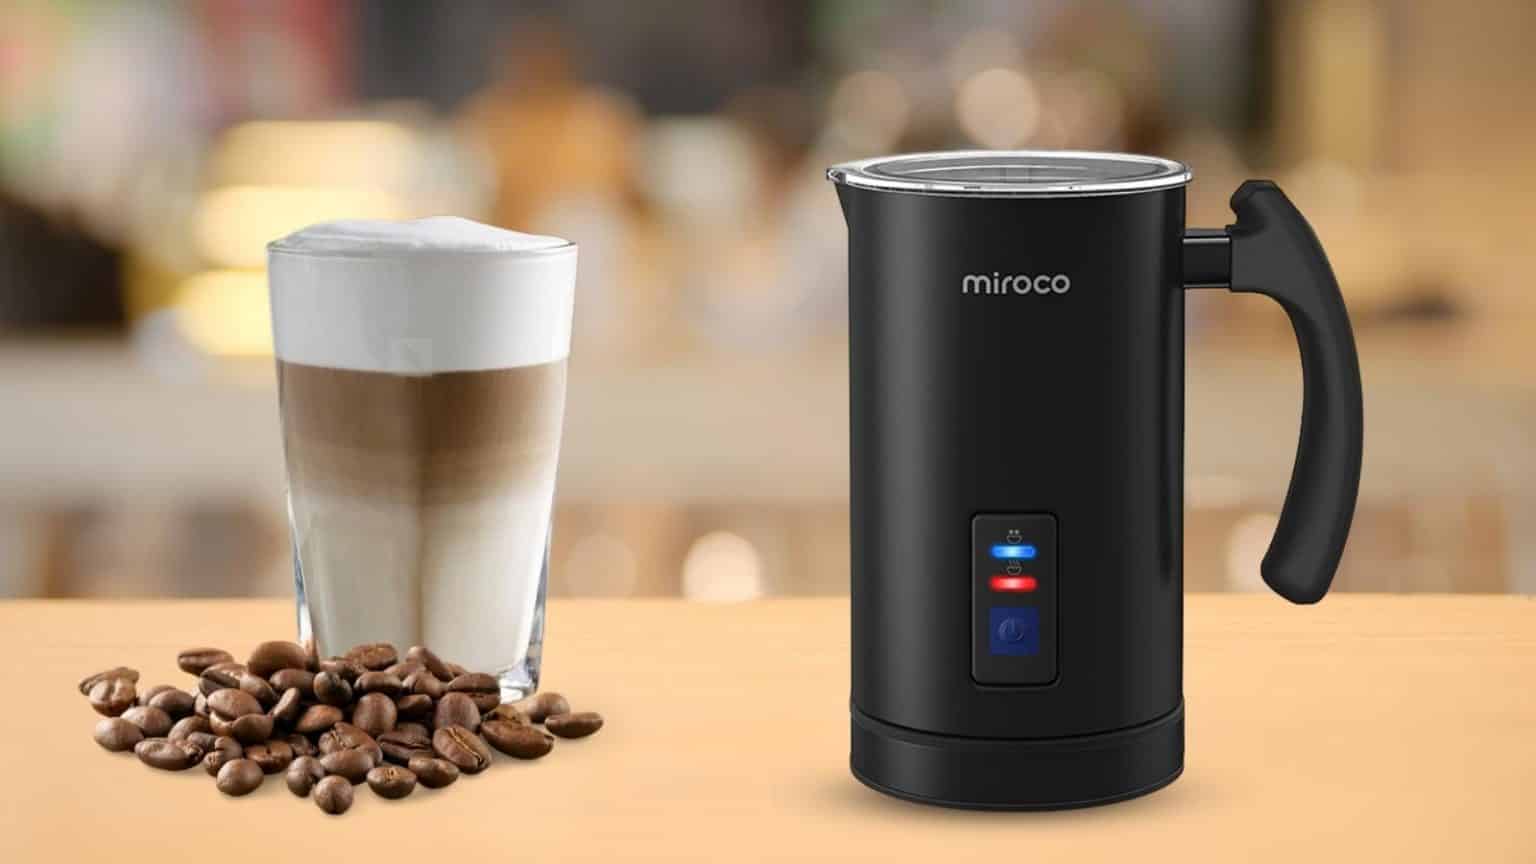
Miroco Milk Frother, Electric Milk Steamer Stainless Steel, Automatic Hot and Cold Milk Frother Warmer for Latte, Foam Maker for Coffee, Hot Chocolates, Cappuccino, Heater with Strix Control, 120V Category: Home & Kitchen Group: Milk Frothers Device: Miroco MI-MF001 Instructions and files
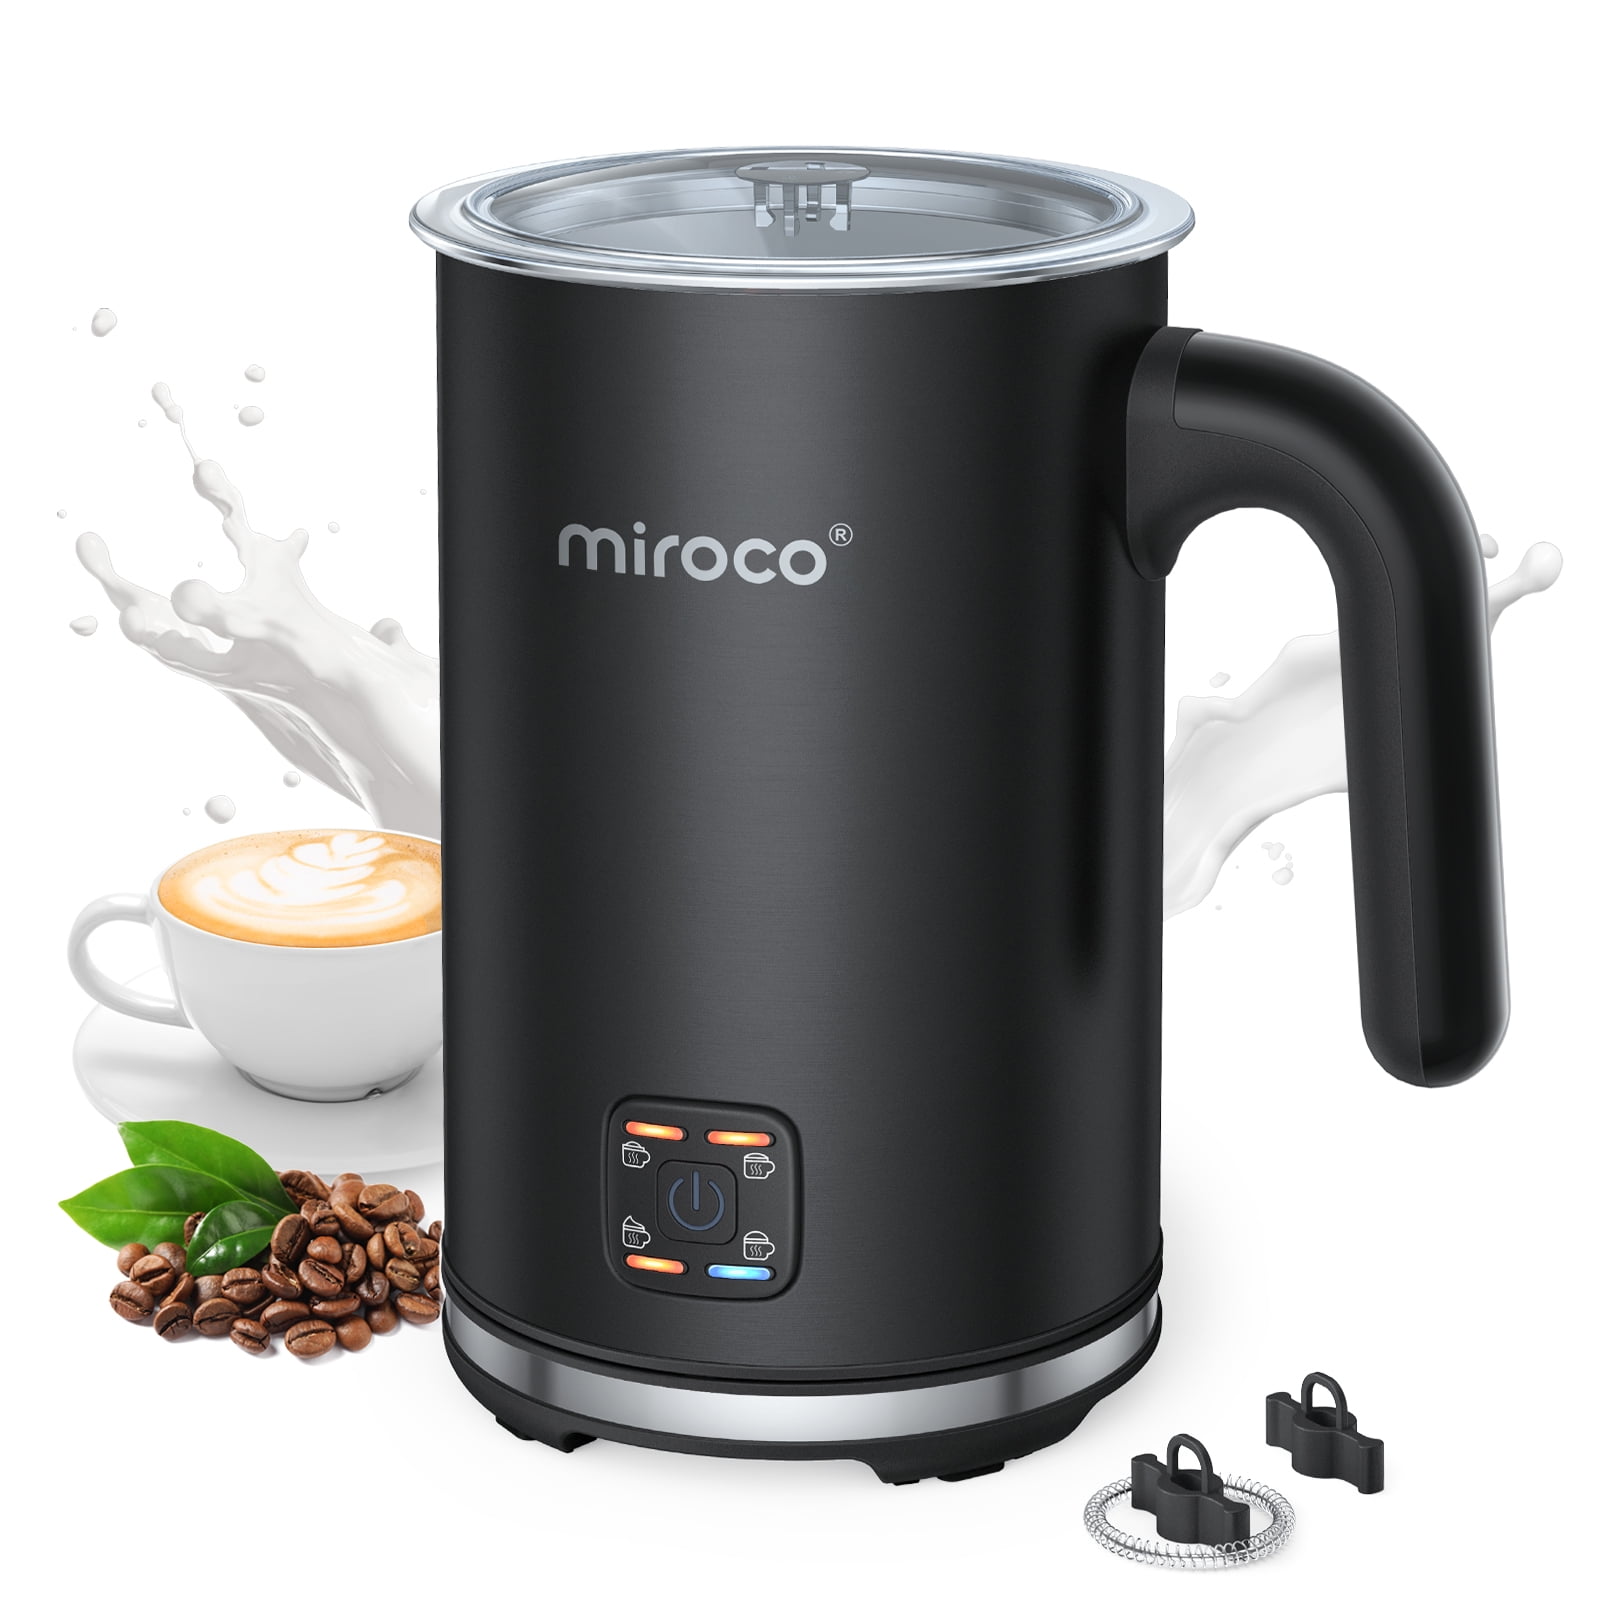
Miroco Milk Frother and Steamer, 4in1 Automatic Warm and Cold Milk
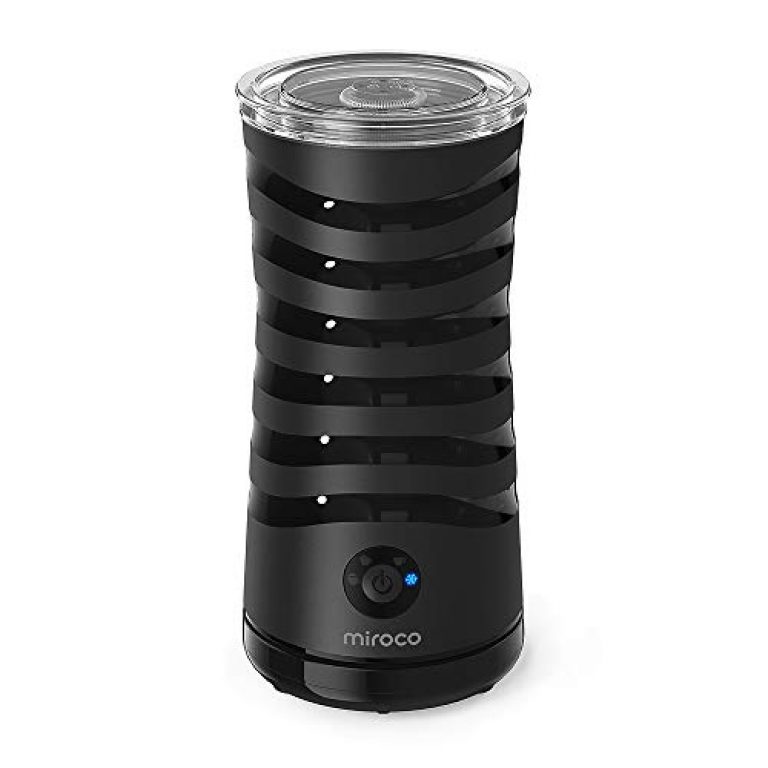
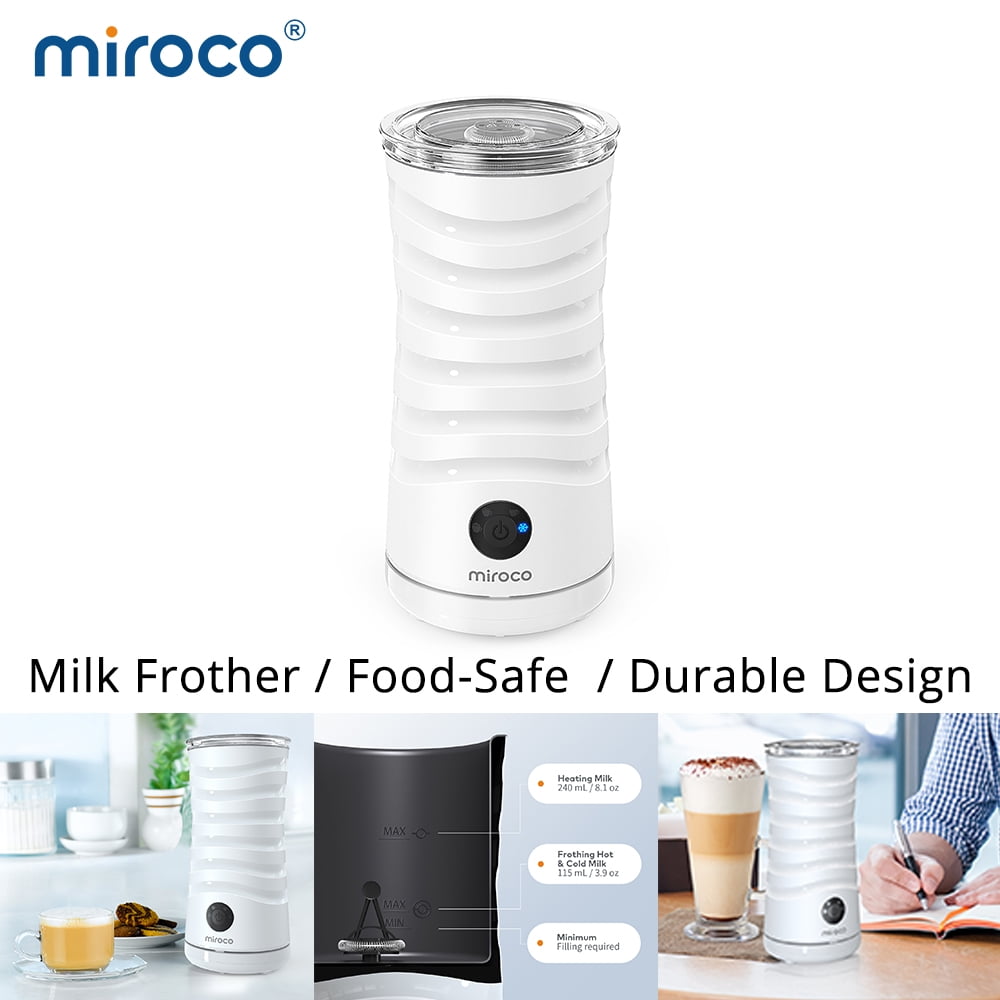
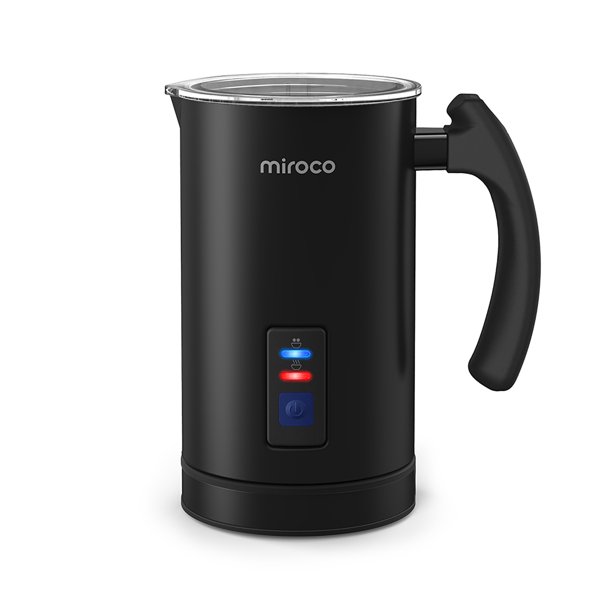
1 Product Diagram 2 IMPORTANT 3 Package Contents 4 Specifications 5 How to Use 6 Cleaning and Maintenance 7 Videos 7.1 Miroco Milk Frother - Review Video 8 Documents / Resources 8.1 References 8.2 Download manual Miroco Milk Frother Manual Product Diagram Transparent Lid Max Heating Level Max Frothing Level Min Level Whisk Pitcher LED Indicators

Best Miroco Milk Frother All About Miroco Milk Frother & Reviews
1 2 3 4 5 Advertisement Related Manuals for Miroco MF005 Kitchen Appliances Miroco MI-MF001 User Manual (2 pages) Kitchen Appliances Miroco MI-MF001 User Manual (15 pages) Miroco MI-MF001 - Miroco Milk Frother Manual (article) Kitchen Appliances Miroco MI-MF002 User Manual (17 pages)
The Quick Miroco Milk Frother ReviewBlack Reviewmast
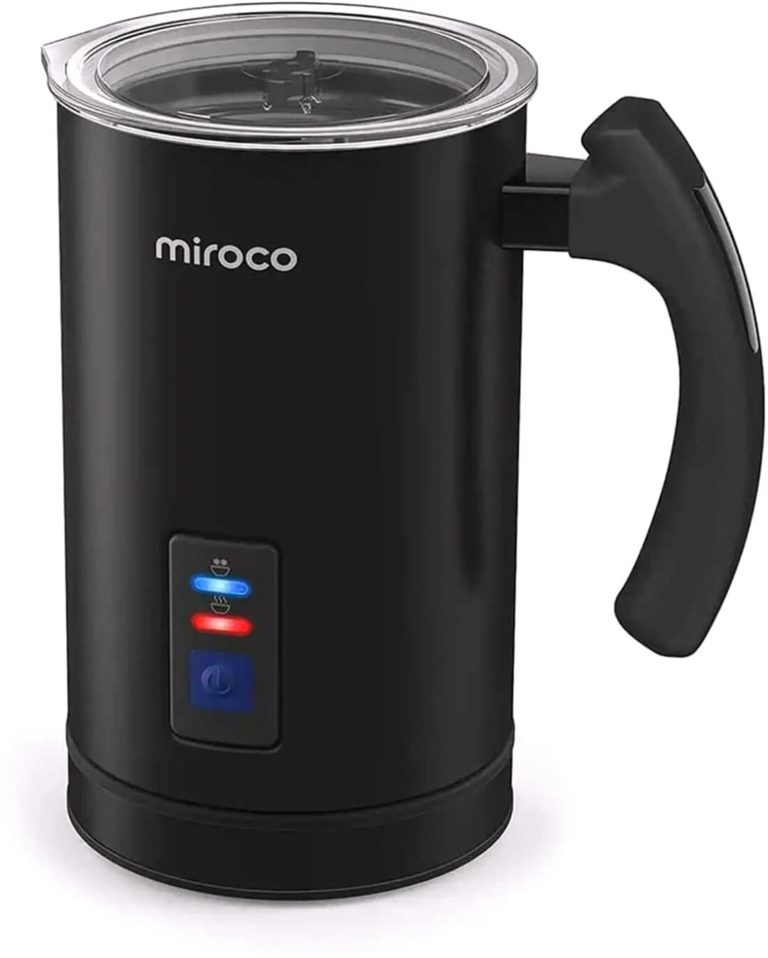
4.1 Download manual Miroco MI-MF001 - Miroco Milk Frother Manual Overview Transparent Lid Stainless Steel Frothing Pitcher LED Indicator Power Button Power Base 2 x Whisk (Heating) 2 x Whisk (Frothing ) Advertisement How to use Choose an appropriate whisk and assemble it onto the tip on the base of the frothing pitcher
Miroco Milk Frother Electric Milk Steamer and Foam Maker Yinz Buy
IMPORTANT SAFETY INSTRUCTIONS READ AND FOLLOW ALL SAFETY INFORMATION AND INSTRUCTIONS. KEEP FOR FUTURE REFERENCE. Thanks for choosing Miroco Milk Frother. Please read this User Guide thoroughly before use and retain it for future reference.. Package Contents • 1 x Miroco Milk Frother (MI-MF005) • 1 x Frothing Whisk • 1 x Frothing Whisk.

Miroco Frother Stainless Steel Automatic Hot and Cold Milk Frother
1 2 Advertisement Related Manuals for Miroco MI-MF001 Kitchen Appliances Miroco MI-MF001 User Manual (15 pages) Miroco MI-MF001 - Miroco Milk Frother Manual (article) Kitchen Appliances Miroco MI-MF002 User Manual (17 pages) Kitchen Appliances Miroco MI-MF002 User Manual (3 pages) Miroco Milk Frother Manual (article)
4 Common Miroco Milk Frother Problems (Troubleshooting) Miss Vickie
Don batteries or outlets are needed. Till froth in a manual extract frother, just add hot or cold milk, then move the plunger raschen up and down. This introduces air to that milk, gradually turning it of one liquid to a foam. The longest you do information, one more air is added and the frothier it becomes.
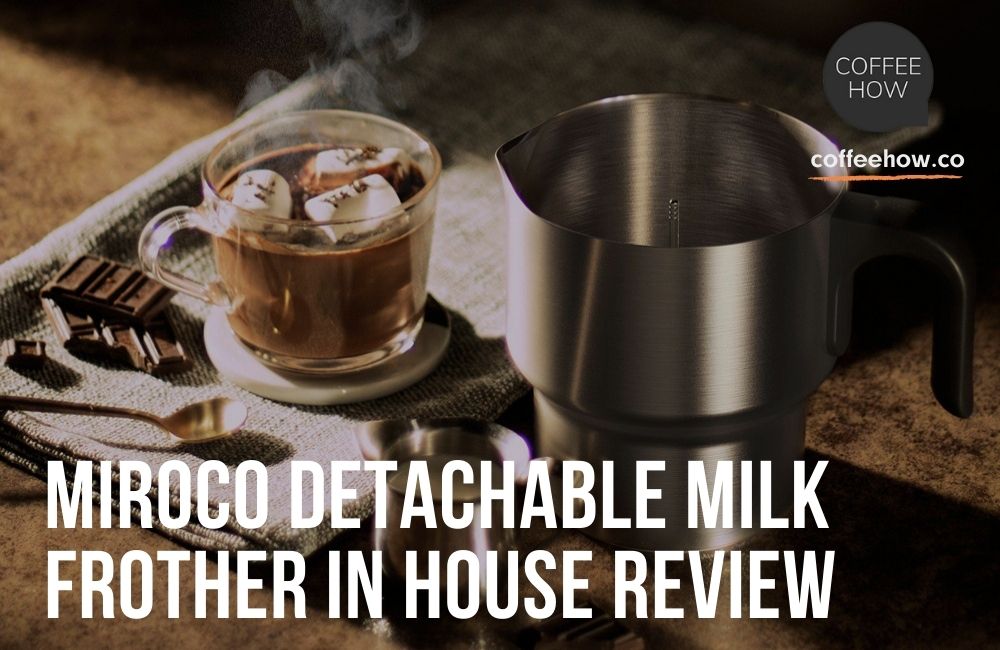
Miroco Detachable Milk Frother In House Review!
Miroco Milk Frother: User Manual | Brand: Miroco | Category: Kitchen Appliances | Size: 1.41 MB | Pages: 1 This manual is also suitable for: Mi-mf002 . Please, tick the box below to get your link: Get manual Advertisement ManualsLib has more than 11 Miroco manuals Checkout popular Miroco categories Kitchen Appliances Manuals Humidifier Manuals

Milk Frother, Miroco Stainless Steel Milk Steamer with Hot & Cold Milk
Thank you for choosing the Miroco Milk Frother. Please read this manual carefully and keep it for future reference. If you have any questions or issues, please contact our customer support team by email at [email protected]. How to use Caution 1. Choose an appropriate whisk and assemble it onto the tip on the base of the frothing pitcher 2.

Buy Miroco Milk Frother, Electric Milk Steamer Stainless Steel
Hot Milk Foam. Milk Foam Cold. (2) Open the Jug lid and insert the Fr othing whisks into the shaft at the bottom of the kettle. (3)Fill the jug with appropriate chocolate powder or chocolate bar( Suggest: We suggest the black chocolate, and the ch-ocolate bar's length should less than 10mm,the chocolate.
miroco Milk Frother, Electric Steamer Foam Maker 8 Ounce for Coffee
Milk Frother, Miroco Electric Milk Steamer Soft Foam Maker for Hot and Cold Milk Froth, Cappuccino, Coffee, Latte, Double Wall Milk Warmer Heater with Extra Whisks, Non-Stick Interior, Strix Control Category: Home & Kitchen Group: Milk Frothers Device: Miroco MI-MF002B Instructions and files
Miroco MIMF001 Electric Stainless Steel Milk Frother
Press the ON/OFF button to start heating the milk and Froth for 60-90 seconds until desired consistency is reached. For cold foam, press the COLD button and froth for 30-60 seconds. To clean, remove the frothing disc and wash all parts (pitcher, lid, base) with warm soapy water.

Miroco MIMF005 Stainless Steel 16.9oz Automatic Milk Frother Silver
1. Transparent Lid 2. Max Heating Level 3. Max Frothing Level 4. Min Level 5. Whisk EN 6. Pitcher 7. LED Indicators 8. Power Button 9. Power Base 10. Spare Whisk Product Diagram 1. Transparenter Deckel 2. Max. Erwarm-Füllstand 3. Max. Schaumgrenze 4. Min. Füllstand 5. Quirl 6. Becher 7. LED-Anzeigen 8. Powertaste 9. Basis 10. Ersatz-Quirl
